davegee
-
Posts
9,323 -
Joined
-
Days Won
59
Everything posted by davegee
-
Just to add to what Peter has (correctly) said. If you do it in reverse order i.e. MANAGE Templates first, you can designate a folder other than PTE's default folder for Templates which is on the C drive. I keep my Templates Folder on an external drive - I TRY to not let ANY of my programmes write to the C drive to minimise the need for defragging. Once this is set up then Create a Template will always save to your own pre-designated folder. It's true that if you want to change your default Template for all shows it has to be done in MANAGE TEMPLATES. DG
-
Stu, D**n!!! I've been using Templates for years to "archive" shows after completion, but I have never noticed before that they appear as a list in the Templates drop down. And by sorting as you describe the true Templates can be differentiated from the Archived Show Templates. Neat. P.S. Igor has already recognised the importance of AR and decided that in future this should be set when clicking on FILE/ NEW. My suggestion is that it could also be possible to go further and include "Load a Template" in this action possibly as an alternative to "Set AR". Loading a Template from the "TEMPLATES" drop down necessitates a seperate renaming procedure wheras by being able to also do it in FILE / NEW the two things (naming and loading the Template) are done in one action. Increased efficiency? DG
-
It's not difficult. I'm pretty sure that as soon as Lin sees your post he will step in and oblige. BTW a Pyramid has a SQUARE BASE and FOUR equal sides. DG
-
Hi Peter, I'm not sure that I should have put this request here, but since you have replied..... In a discussion with Barry he stated the same thing. But am I correct in that you can only have one default? What if you wanted to have a choice of templates - 1920x1200; 1920x1080; 1440x1080; 1400x1050;1280x1024; 1024x768 etc - to choose from? I use a variety of AR's based on 1080 - it would be nice to be able to load the one I want from within "FILE/NEW" without having to bother about Project Options adjustments. If you think that this is a new feature (as opposed to what Igor started this thread for) please move to a new thread. DG
-
Igor, When starting a new Project would it be possible (desirable) to be able to load a previously saved TEMPLATE so that all parameters in Project Options are already set and do not need any adjustments? DG
-
Regarding Barry's suggestion about the SCREEN TAB: Could it be altered such that it displays SIMPLE and ADVANCED Options? SIMPLE would read the connected (MAIN) monitor parameters and set the options to suit. ADVANCED would allow for making a show the Options of which are different to the parameters of the connected monitor. If the ADVANCED Options did not exist then it would not be possible to (for instance) create a 1920x1080 show with your 1920x1200 monitor connected. DG
-
That's what I meant by: " It can also be used to provide a starting platform for a new show without setting up Project Options". But you can only have one default. You could have one Template for 1920x1080. One Template for 1920x1200. Oh, and one Template for 1024x768 (with a max file size of 20Mb). DG
-
I agree with that. One thing occured to me. If you save BIZ and then want to access the archived project at some time, you have to Unzip and create a second folder - twice the file size for the same project. The Project Template allows direct access without the need for a second (more or less) duplicate folder. For transfering to another person's computer via disc or Internet - just Zip up the Template. DG
-
Hi Cor, Re: The location - this is pre-determined, when saving as a TEMPLATE, by your settings in MANAGE TEMPLATES. By clicking on Save As Template it does its thing and you know where to look for it because you told it where to save. If you want to ZIP it for sending somewhere the Windows Zip facility does that more or less instantly. To me that's the best of both worlds. DG
-
A Template will do everything that Backup in Zip does. It gathers all of the files into one folder which you designate. It can also be used to provide a starting platform for a new show without setting up Project Options. It will transfer to another machine, maintain relationships etc. without having to be unzipped to use again. I use it on my own setup when a show is "finished" and I want to "archive" it. If I wanted to send a completed show on a disc to a friend in Australia I'd send a Template. The ONLY use for BIZ that I have found is for e-mailing or transfering via an Internet Drop Box. It's no big deal and it's just a personal thing - I just wondered why others use BIZ when (to me) Templates are so much more convenient. DG
-
Perhaps someone can explain to me why BACKUP IN ZIP is always recommended? I find it far easier to Save a TEMPLATE which does exactly the same thing and obviates the need for UNZIPPING. Whichever you choose the advice is good. BUT NOT AS GOOD ADVICE as bringing all images etc together in one folder for the project. Even if it means having duplicate JPEGs. DG
-
Are you by any chance trying to open the EXE file? You have to open the original .pte file in the software. If the EXE was called BIRDS.exe try looking for BIRDS.pte. DG
-
Igor said: The best format of video for PicturesToExe are DIVX, XVID or MPEG4-ASP (NOT H.264) at 1280 x 720 30p. For these video clips I get just 6% of CPU loading on my home PC. The Canon 5D Video file is MOV (H.264) http://www.canon.co.uk/for_home/product_finder/cameras/digital_slr/eos_5d_mark_ii/index.aspx?specs=1 I wonder if it's that? Having said that Peter (I think) and I have both created H.264 MPEG4 files from PTE shows which work without stuttering in other PTE shows (Fit to Slide). DG
-
Xaver, The Options/Screen dialogue is where it all comes together and makes perfect sense. The top section relates to your "SCREEN and SLIDE" settings. It tells you that your DISPLAY (SCREEN) is, for instance, 16:10 aspect ratio. It could be improved and would, perhaps, make things clearer if it also told you that the resolution of your display was, for instance, 1920x1200. It would also make a little more sense (to me) if it were placed at the top (above the SLIDE settings). The other settings refer to the dimensions of the SLIDE that you are going to place within your DISPLAY or SCREEN. In default mode it offers you a 4:3 SLIDE with a 1024x768 resolution. An improved scenario (to me) would be if the OPTIONS could read my computer's MAIN screen and set all of the defaults to suit. For example: My Display (SCREEN): 16:10 (1920x1200) - Fullscreen as default Aspect Ratio of a SLIDE: 16:10 Virtual Size of SLIDE: 1920x1200 Fixed Size of SLIDE (in Pixels) and Hardware Acceleration both TICKED as default. The difference between SCREEN and SLIDE is clearly marked out here. If AND ONLY IF your SCREEN and SLIDE dimensions are the same then "Fit to Screen" and "Fit to Slide" are one and the same thing. In all other scenarios the two phrases do not mean the same thing. DG
-
Igor, Options 1 and 4 make sense. Option 3 would appeal to some - I personally would not use it. I will have already made that choice in Options/Screen and the implication is that part of the show will be lost (sides or bottom/top). DG
-
In order to make this suggestion workable it follows that the present "SLIDE" would also need to be renamed. The obvious new name would be "SCREEN". For instance the "SLIDE LIST" would have to be remamed the "SCREEN LIST"(?). "INSERT BLANK SLIDE" would become "INSERT BLANK SCREEN"(?). All of the "SET FOR EXISTING SLIDES" would become "SET FOR EXISTING SCREENS" On the upside the word SLIDE could be dropped from the SCREEN OPTIONS and "SCREEN and SLIDE" would become "SCREEN". I suppose that an alternative to "FIT TO SLIDE" or "FIT TO SCREEN" would be "FIT TO VIEW" but then all references to SLIDE would be to "VIEW". None of these suggestions make sense. The "container" for images and objects has always been called the SLIDE and there are XXXX number of people out there who are seemingly happy to go along with this. The area of your monitor on which your PTE show is displayed has always been refered to as the "SCREEN" and there are XXXX number of people out there who are seemingly happy to go along with this. I foresee a situation in the future, if this suggestion is adopted, where someone is going to be complaining that his/her images are not filling his/her 1920x1200 monitor in a 1920x1080 show when he/she told them to "COVER SCREEN". Please, Igor, don't change this on the opinions of a few of the XXXX number of seemingly happy users of PTE who DON'T complain. Get a bigger cross section of that XXXX number before proceeding? I have always been able to grasp the concept of the SLIDE being the container for the Images and Objects and the SCREEN being the area of my monitor being used to display my PTE Show. It's not rocket science. DG
-
I can only speak for myself here. If you are going to call the "container" for the images and objects a "SLIDE" the the option should remain as "Fit to Slide" or "Cover Slide". At present we have the SLIDE LIST and the fitting or covering refers to the SLIDE. When talking of "Fitting to Screen" I think of the portion of the SCREEN that the PTE show takes up on a Monitor or Projector or TV. DG
-
If it works OK - I've yet to try it - maybe a "sticky" with a recommended converters listed would be a help to others? DG
-
Are you replying to #10 or #11? DG
-
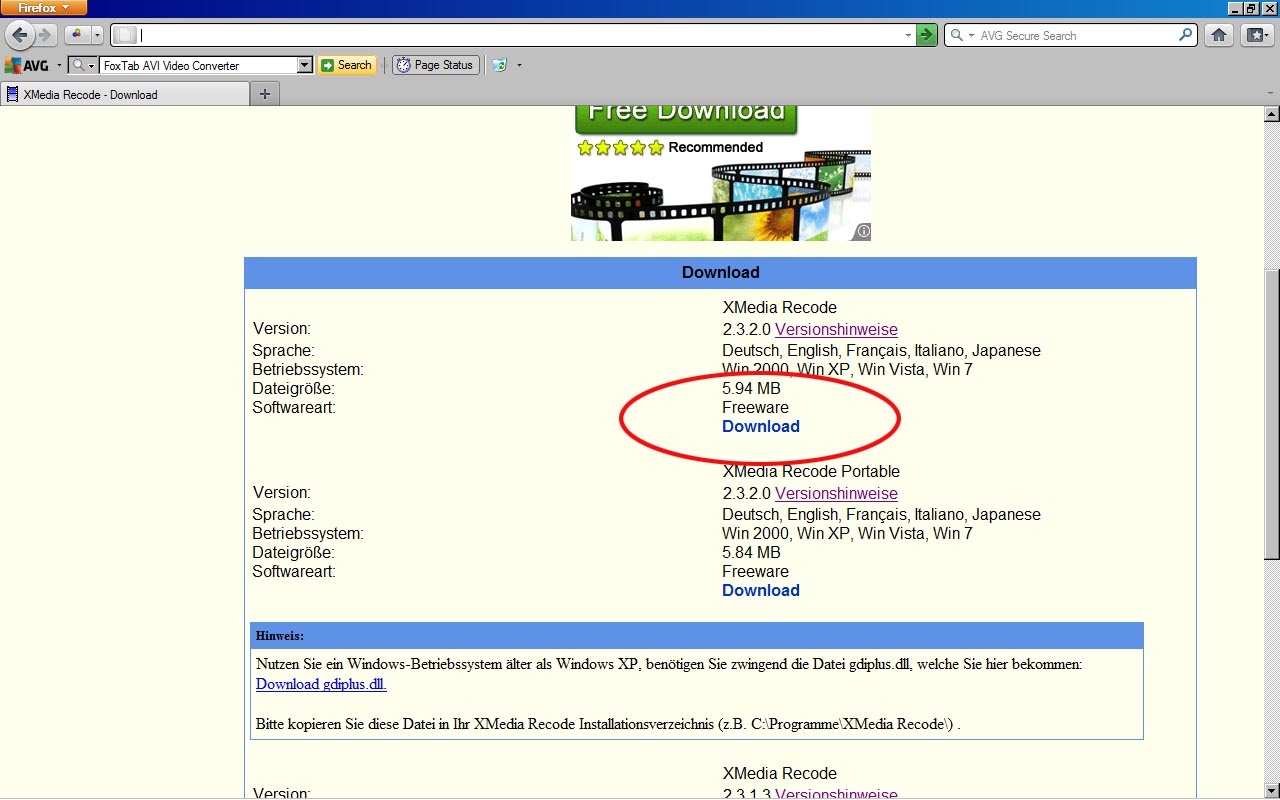
OK - you probably mean this one? http://www.xmedia-recode.de/download.html
-
Peter, The download link at that site takes us to FoxTab AVI Video Converter Is that the one that you used? DG
-
............hence my question here: DG
-
Tom, Igor, The reason I asked is that more people will be buying DSLRs in the coming months with Video facilities - Nikon 3100 / Nikon 5100 and I'm sure there are other equally good Canon models. Having looked at the specifications, I see that most are using the H.264 MPEG4 format as standard. I recognize that Igor cannot facilitate all formats and wonder if there is a concensus about which converter is the most reliable for doing the conversion from H.264 MPEG4 to MPEG4? Igor, I hope that you will feel better tomorrow! DG
-
Hi Igor, I think that you misunderstood my question? I asked if you could recommend software to convert H.264 to MPEG4? DG
-
Igor, What are you recommending to do the conversion? The straight out of camera format for some DSLRs is: "Video compression: H.264/MPEG-4 Advanced Video Coding" DG