Bad Dancer
-
Posts
140 -
Joined
-
Last visited
-
Days Won
37
Everything posted by Bad Dancer
-
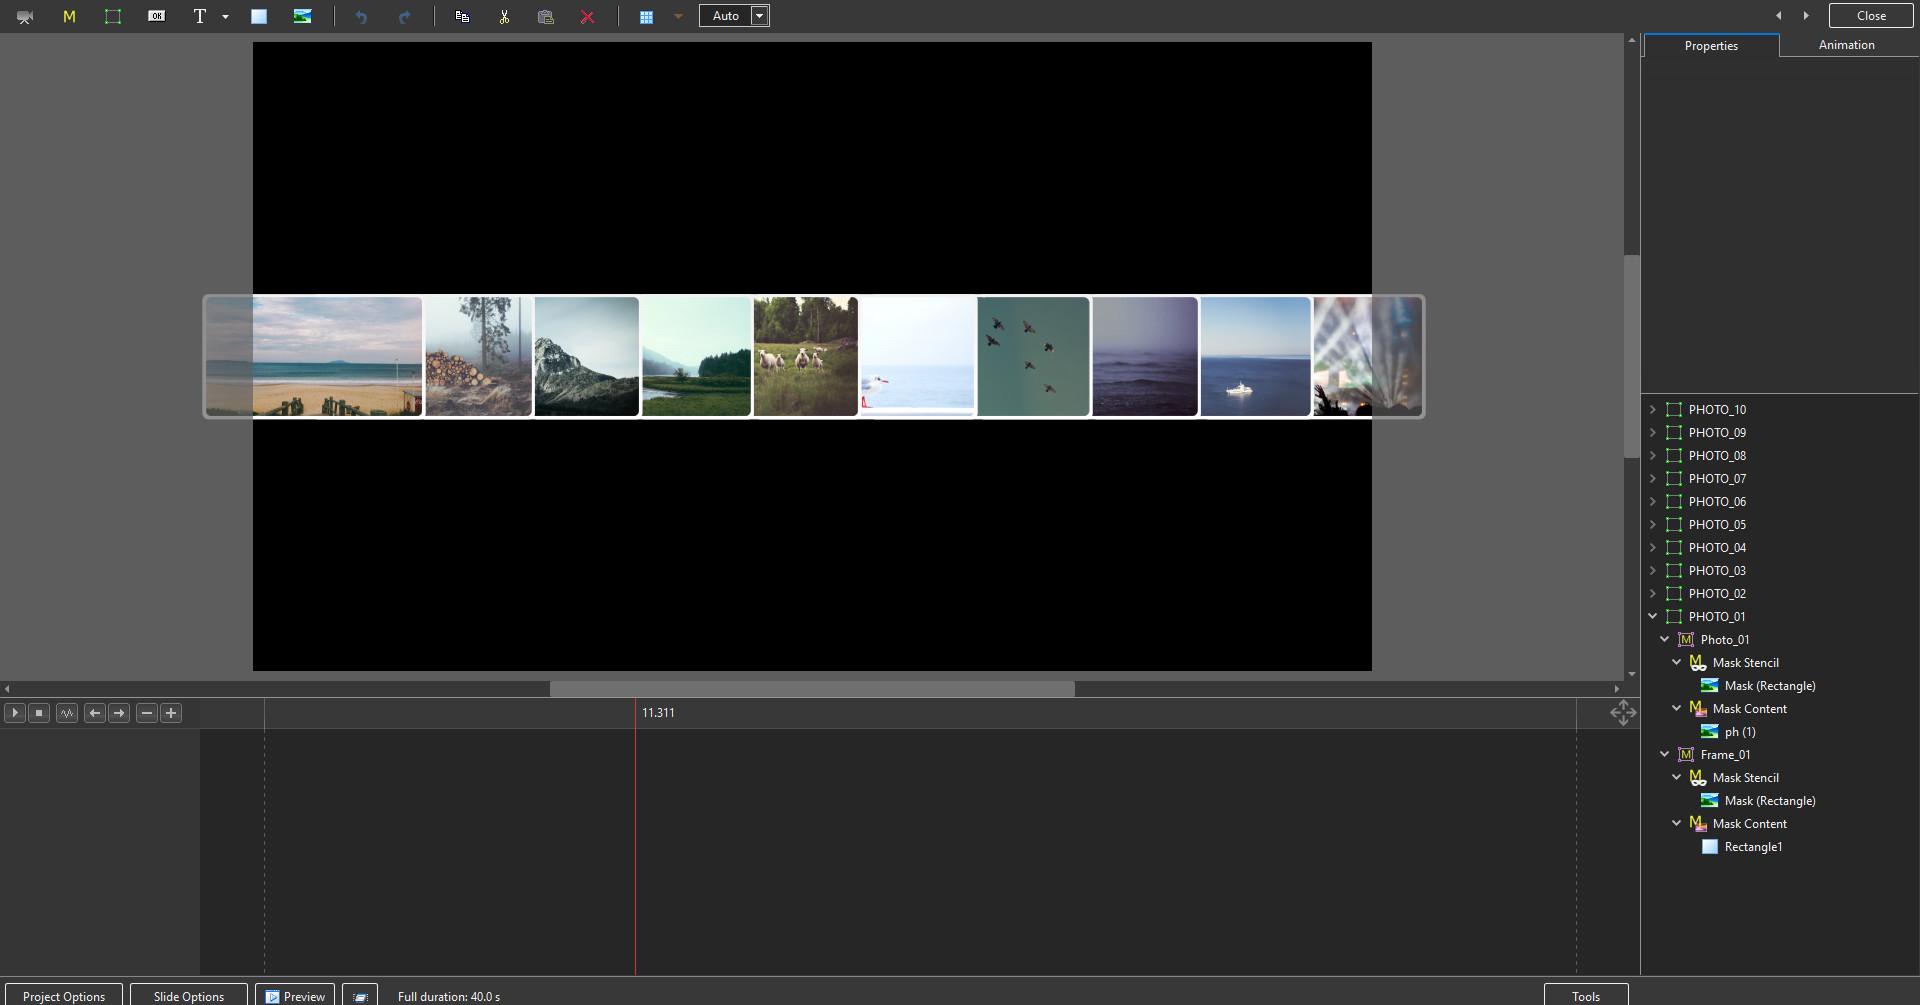
 Hello everyone. I present to you 8 transitions in the “Light Film Frame” style for your creative work. The download link is in the release description on YouTube.
- 1 reply
-
- 5
-

-
15 Free PTE AV Studio Transitions - Romantic Light Transitions for your creativity. The download link is in the description on YouTube.
- 1 reply
-
- 2
-
-
10 Free PTE AV Studio Transitions - Mesh Transitions
Bad Dancer replied to Bad Dancer's topic in Styles & Templates
Ladies and gentlemen, these are transitions. This is written in the release title and in my post above the demo video. jienense, Thank you for the comment! A blending mode for a layer without a mask would be even cooler. 😉 -
10 Free PTE AV Studio Transitions - Mesh Transitions
Bad Dancer posted a topic in Styles & Templates
10 Mesh-style transitions for your creativity. The download link is in the description on YouTube. https://youtu.be/hCCnVIFCGs8 -
You can open the project folder and, looking at the replacement files (which are simple forms with regular numbering), in another folder that you created, select the appropriate photos with the same numbering and then replace the project files with them using the "copy with replacement" command. Then save the project under a different name. Thank you for your comments and attention to my work.
-
Hello everyone. The project is a demonstration of the new features of the 12th version of the program, now with layer overlays. The Light Leaks overlay now works relatively correctly, relatively because the mask effect has to be applied to the entire composition, not just to a layer, and the overlay of the image on the folding paper works correctly. BD.
-
"Spots" can be made into a separate customizable effect applied to any layer. This effect will allow you to create animated waves on the surface of water, clouds, rain, light reflections, and more. And also the "Page Curl" effect for the layer. I am confident that this effect will be very popular among slideshow creators. Sincerely, BD.
-
Hi everybody. I saw a video with a heron from Digital and decided to offer this kind of design for such files. It is not necessary to use the entire project. You can apply one or more slides. All text blocks are editable. The slide duration can be extended for easier reading of the text. The slide movements are edited by the overall frame. Due to the lack of layer overlay modes in the program, the file with the crumpled paper effect is superimposed with a change in the opacity of the layer, adjust it yourself if necessary. Information about the project and the download link in the description of the video on YouTube. https://youtu.be/DUej61T06rU
-
Hi everybody. 10 transitions in the style of an Old Film Frame for your creativity. The download link is in the description of the video on YouTube. https://youtu.be/Gskzy8bzjYw
- 1 reply
-
- 4
-
-
Free PTE AV Studio project - Retro Slideshow ID 26052026
Bad Dancer replied to Bad Dancer's topic in Slideshows & AV Shows
Thanks a lot digartal and to everyone who liked it. -
Hello everyone. A retro-style design project for you. Download link and description on YouTube.
-
Recreation of an old ProShow Producer Style/Theme
Bad Dancer replied to Wanderlust's topic in Styles & Templates
Wanderlust, It wasn't difficult to do. By the way, the width of the vignette is also adjustable. I wish you success in your creative work. -
Recreation of an old ProShow Producer Style/Theme
Bad Dancer replied to Wanderlust's topic in Styles & Templates
Hi Peter. I made a style similar to yours, but not exactly like the original. This is the simplest version with straight corners of the vignette. There is a style file and a project file in the project folder. I have included the project file in case you want to modify the design according to your preferences. The style name is random, but its animation resembles a similar preset with alternating images in After Effects. Photos in the style are cropped with a 16x9 aspect ratio. Keep this in mind when using photos with other sizes, or disable the "Crop" feature in the project and save the style with a different name. Download link:https://drive.google.com/file/d/12wYNLz4ig5TCFzy7ncy9DyGGdoom0N39/view?usp=sharing -
Recreation of an old ProShow Producer Style/Theme
Bad Dancer replied to Wanderlust's topic in Styles & Templates
This style can be recreated in PTE, but… First, for a full recreation, this program doesn't have a vignette with rounded corners — only straight lines — and such corners can be achieved by using a mask with rounded corners, meaning there will be a frame with a mask and an image with a mask. Second, the photo fade-in and fade-out effect is created by layer opacity — so on a straight vignette this will be easy, while on a rounded one you'll need to apply opacity to all the other layers. But! It can be recreated. Straight frames can be done in half an hour to an hour, and with masks — in a couple of hours. The key is to calculate the slide timing correctly: here the photo appearance lasts about 0.4 seconds, and the style duration is about 42 seconds. What remains is to position the keyframes correctly.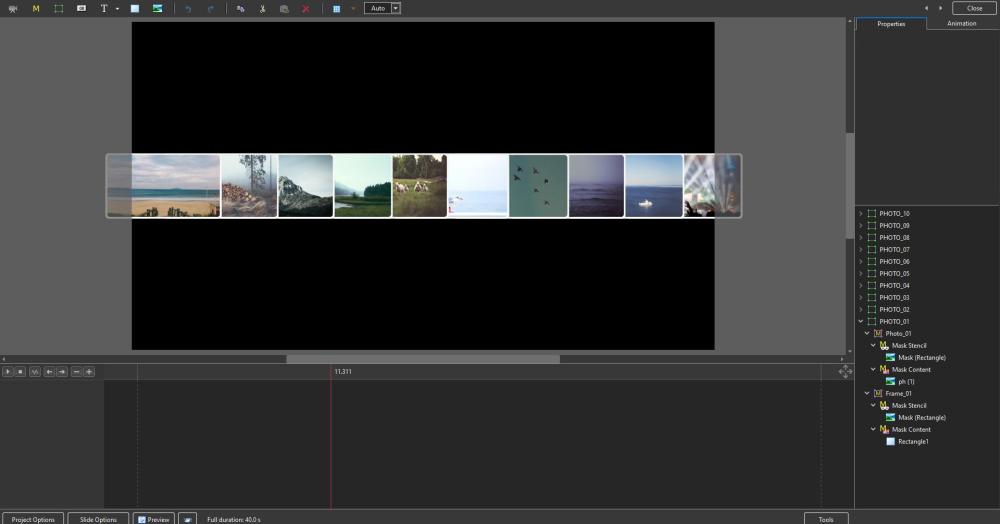
-
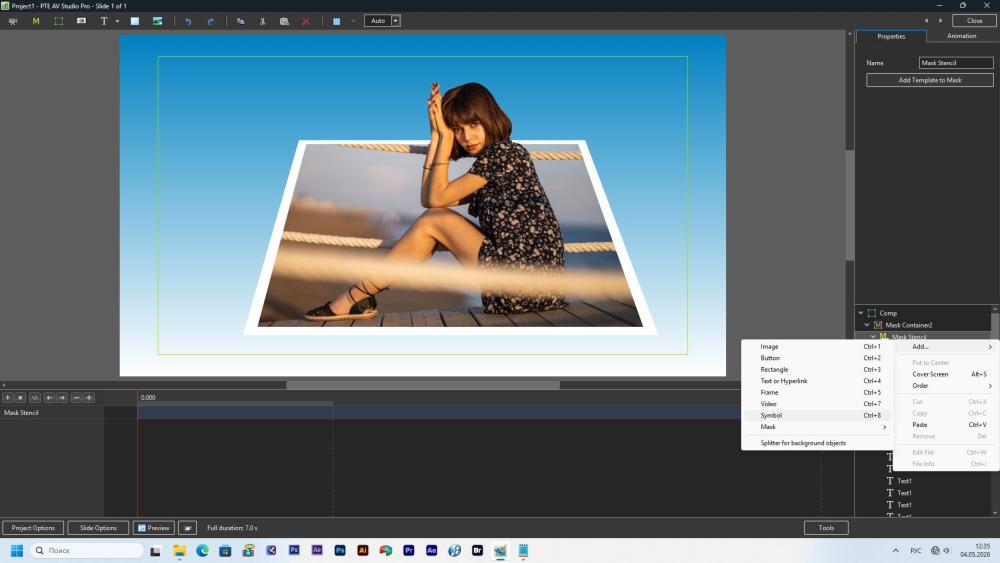
Everything can be done only by means of the program. The masking layer allows you to add text characters of different shapes in large numbers and you just need to create the desired shape of the mask. It is simply undesirable to use photos with a lot of protruding hair, or leaves of grass, trees, and a similar multitude of small details, which require a lot of masks, time, and painstaking labor to isolate.
-
digartal, Thanks for the comment. I'm for diversity. People write that there are too few text effects in the program, I'm trying to say that this is not the case. 🙂 Two text animation projects were planned. Now there is a project in the plan with a movie projector for memorable moments of the past. I think I can do it in a week, if nothing bothers. I'm watching your videos, it's a good job. If you have any questions about the projects, please contact me, I will help you with everything that is in my competence.
-
Hi everyone, Another project with text animation. Easy to do, easy to repeat. Replace the background, replace the color of the text and text backgrounds. The project can be used to advertise embroidered products. Download link and description under the video on YouTube. https://youtu.be/NNu0DOyrTaE
-
- 2
-
-
JRR thanks a lot
-
This is a simple example of working with text. The program's features allow you to make similar animations. It was possible to complicate the appearance of text layers with masks, but it would be difficult for an inexperienced user to understand. Of the three options I tested, the last one turned out to be the easiest, where a pair of frames rotated 90 degrees relative to each other along the Y axis and placed in the third frame, allowing you to move the entire composition vertically. I will consider any comments as an aid in studying the program.
-
Don't worry, be happy. 😉 Description and download link for the YouTube video. https://www.youtube.com/watch?v=SCZmOUHG-eU
-
Hi Gunterus. https://disk.yandex.ru/d/SgZRb9JZ8Yevxw
-
AleAle5025. Hi! Thanks for the comment! Yes, the video was made in After Effects. This is the finished video that I inserted into the PTE project. In PTE, it is difficult and time-consuming to do this, save the video as a sequence of frames and move the added file manually in each frame.
-
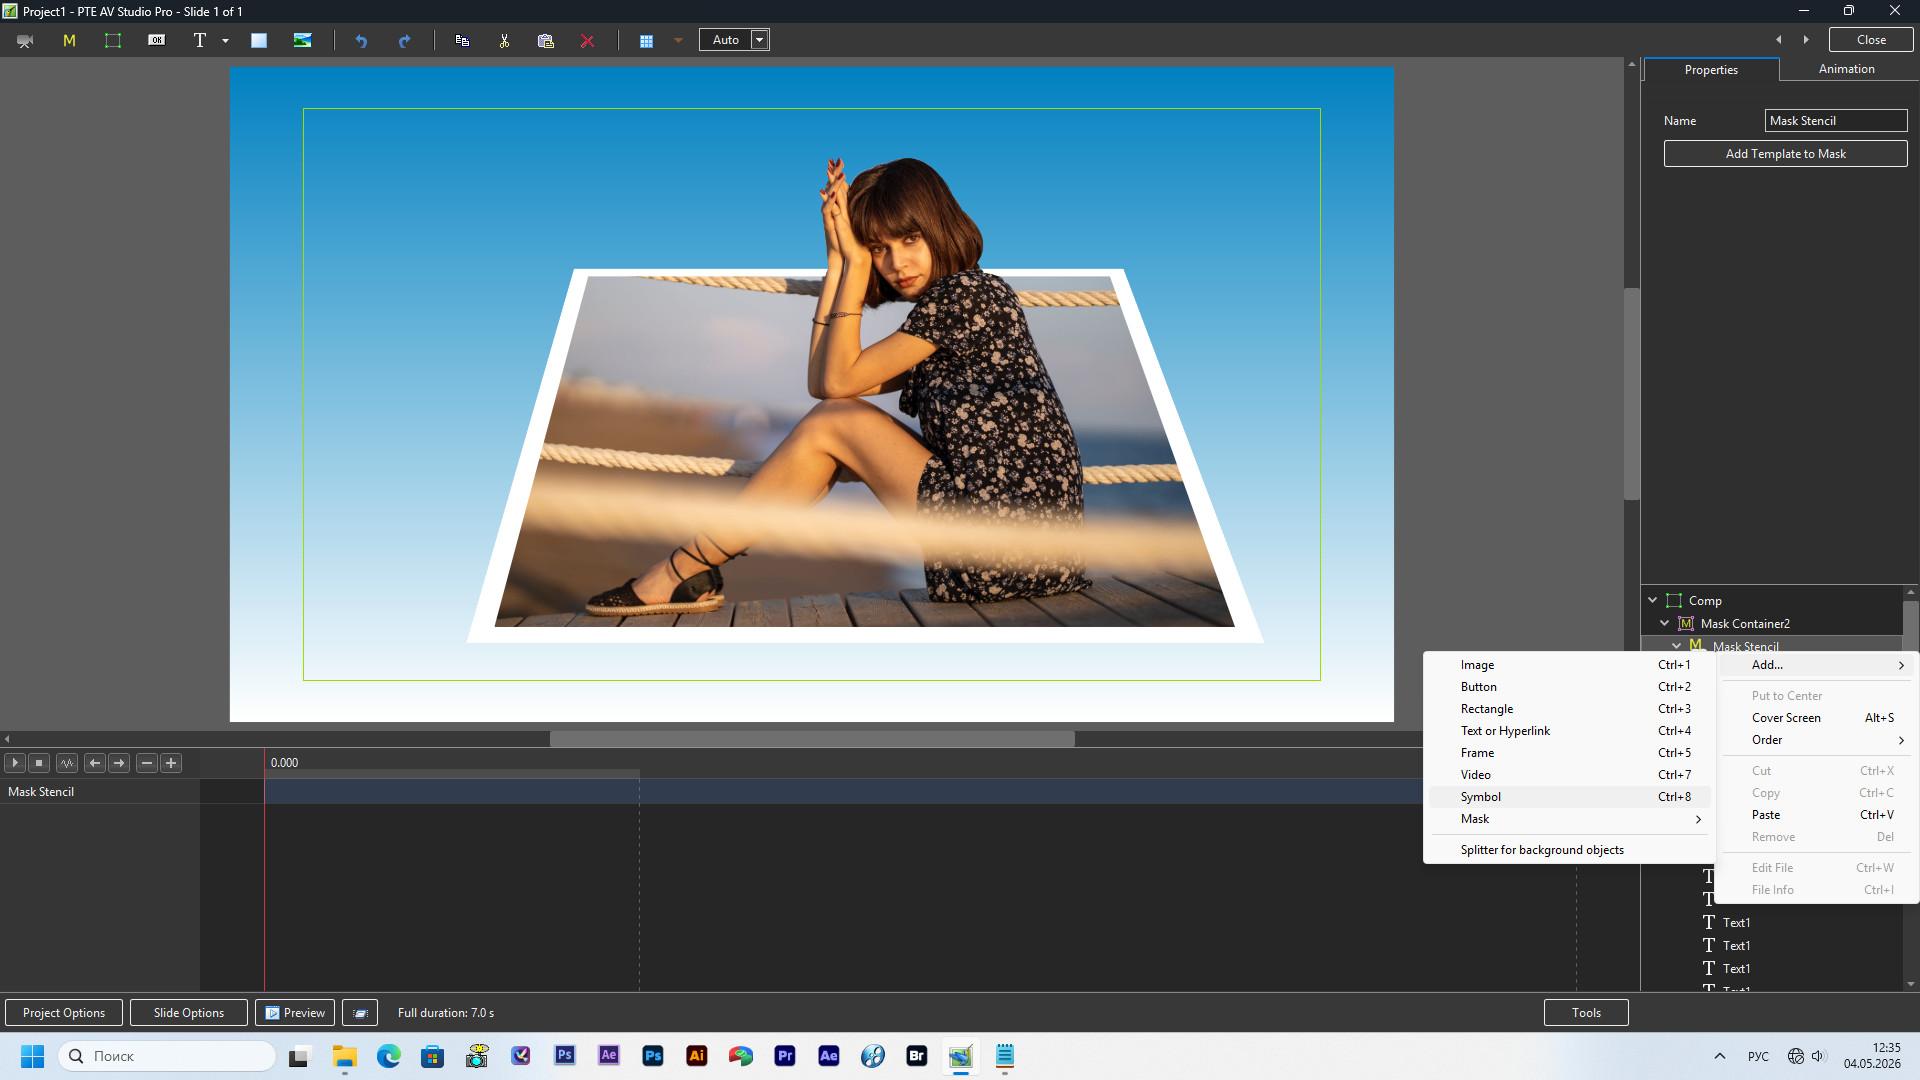
Hi Mike, There is no "Free transformation" function in PTE, and the layer changes the side lengths proportionally when zooming. You can cut a hole in a third-party image in a photo of a building, say in Photoshop, and add your photo or video with an underlying layer. You can also create a white mask of the desired size and shape in Photoshop and place it as the top layer above the photo of the building, in this case you can add a shadow. An example of applying a mask from a video:
-
Everything is fine, but the focus should not be visible with the aperture closed, focus first and then the shutter.
-
I really want layer overlay effects in this program, at least Screen and the usual Bounce fade effect in modifiers. In motion modifiers, it's a good idea to add "Random Movement", as in ProShow, because when the same leaves are wobbling, there is no measured movement, there is randomness.