davegee
-
Posts
9,348 -
Joined
-
Days Won
59
Everything posted by davegee
-
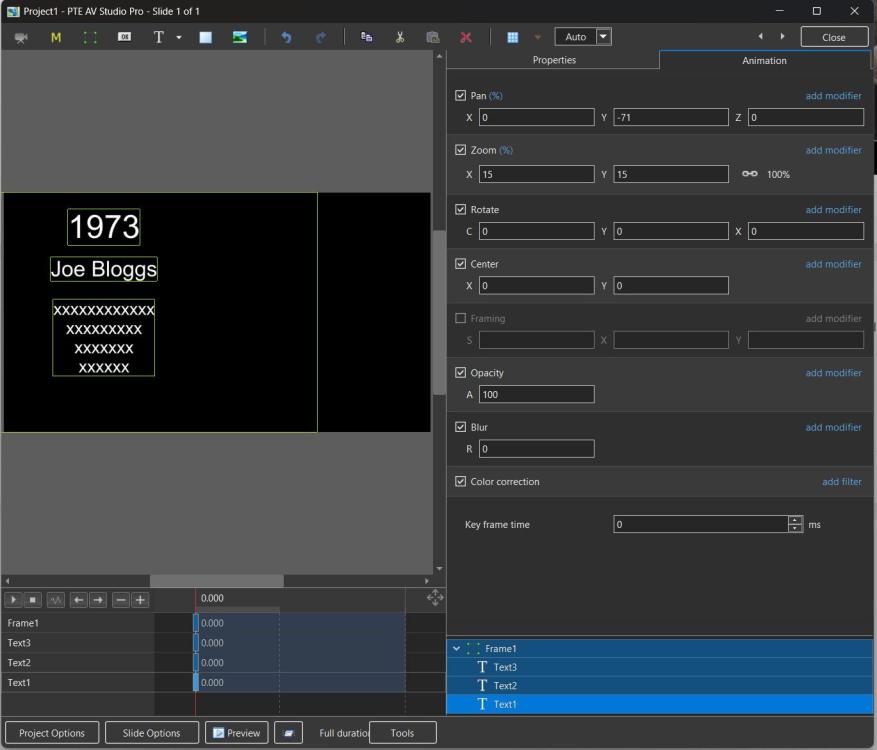
They will, if you use a frame and DO NOT ALTER THE PAN X VALUE dg
-
Try adding a frame and adding your text boxes to the frame. When you have the first one set up you can pan the FRAME to the left with everything maintaining its position. Save as a Style or Quick Style. DG
-
In O&A / Properties /Alignment, choose Centre. Yes, the alignment can be incorporated into a Style or Quick Style and once applied the Text can be edited. DG
-
Igor, Can you explain how the user can add sounds to the SOUND LIBRARY? DG Main/all/styles and transitions/sounds??
-
Nice Demo, it should be very useful for Panoramas and Animation. DG
-
Something like this: Project1_Dec26-2025_14-06-53.zip DG
-
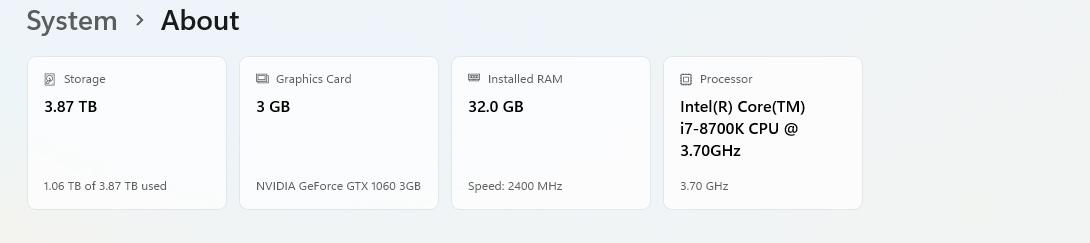
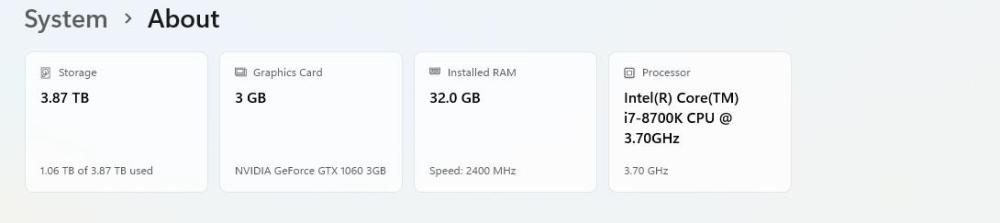
It might be helpful to know a bit about your system. Go to Settings/ System /About and post what you see. Example: In addition you could create a one slide project which displays the symptoms and post it here as a Template or a BIZ so that someone can analyse it. Good luck, DG
-

Slide duration after applying style/theme
davegee replied to SeismicGuy's topic in General Discussion
You assume correctly, that the Durations are set and "baked-in" by the author of the Style. A couple of suggestions. You could apply the Style to one image and make your required changes. You could then create a New Style with a new name from those changes and apply to other slides. This is only helpful if you have consistent Durations. If you do not want to Create a new Style you could use the Quick Style feature to copy your changes to the other Slides as necessary. DG -
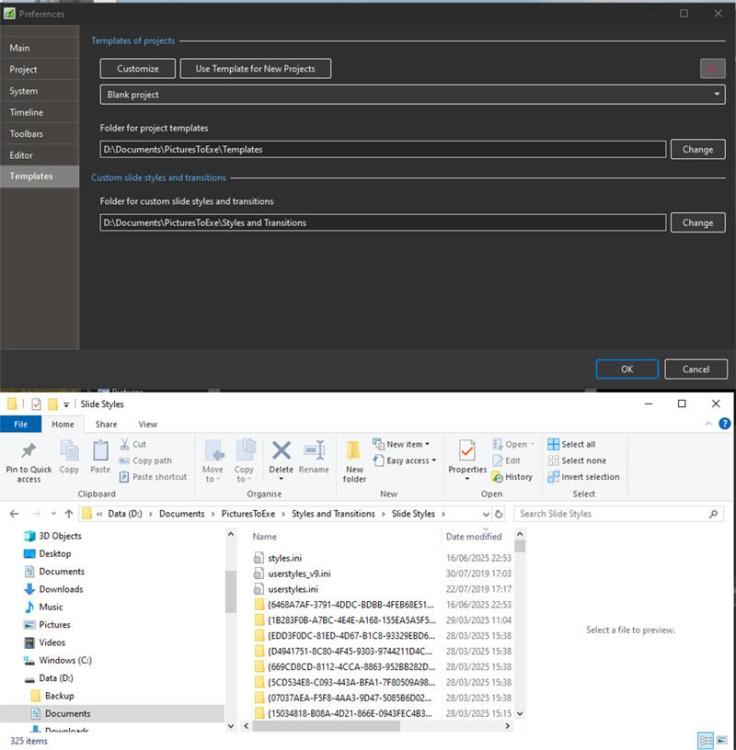
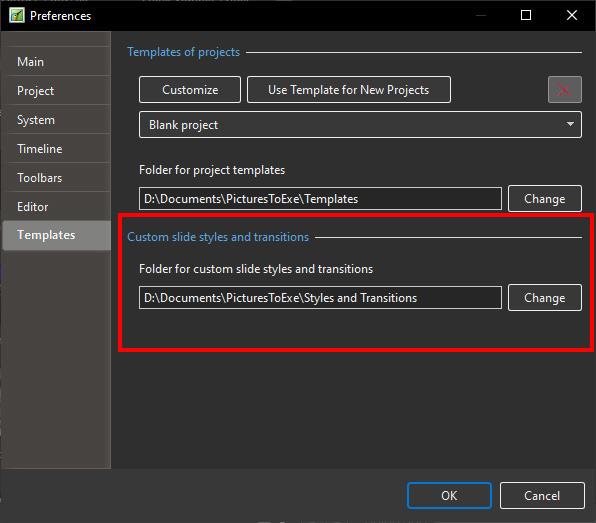
Is it possible that you (previously) changed the location of the folder for templates in Preferences/Templates? Do a search of your computer for *.pt and make a note of the folder which contains your templates. Then go into Preferences/Templates and make that your Default Folder for Project Templates. DG
-
There is a new feature in Photoshop called "Harmonize" which will do a little more than just colour correction. Not sure if it will work on layers so you might have to merge your two layers, apply harmonize, then extract your object again or something similar, but I think that I would give it a try. (It does work with layers). There are a few YT videos explaining the procedure - try this one to start.
-
Hello. How can I make a slideshow with music playing in the background but scrolling through photos with the spacebar?
-
1. Settings / Preferences / Main 2. By adjusting the duration of each slide - various ways - others will help I'm sure In the TIMELINE VIEW: 3. Help / User Guide Online (F1): https://docs.pteavstudio.com/en-us/11.0/main DG
-
How to find what style was used for a slide or slides?
davegee replied to What A Ride's topic in Styles & Templates
You can use "Quick Style" to copy an applied Style from one Slide to another. Or you can create a new Style from that Slide and name it appropriately. DG -
Pteeff files are Transitions. Styles are ptestyle files. Both can be Imported and appear as either Transitions or Styles. You can Import a pteeff file and apply it as a transition and then create a Style from a single or multiple slides which include the Transitions. DG
-
One Way would be to add a Splitter for BG Objects and add to that a Rectangle of whatever colour you want or Add a Background JPEG. DG
-
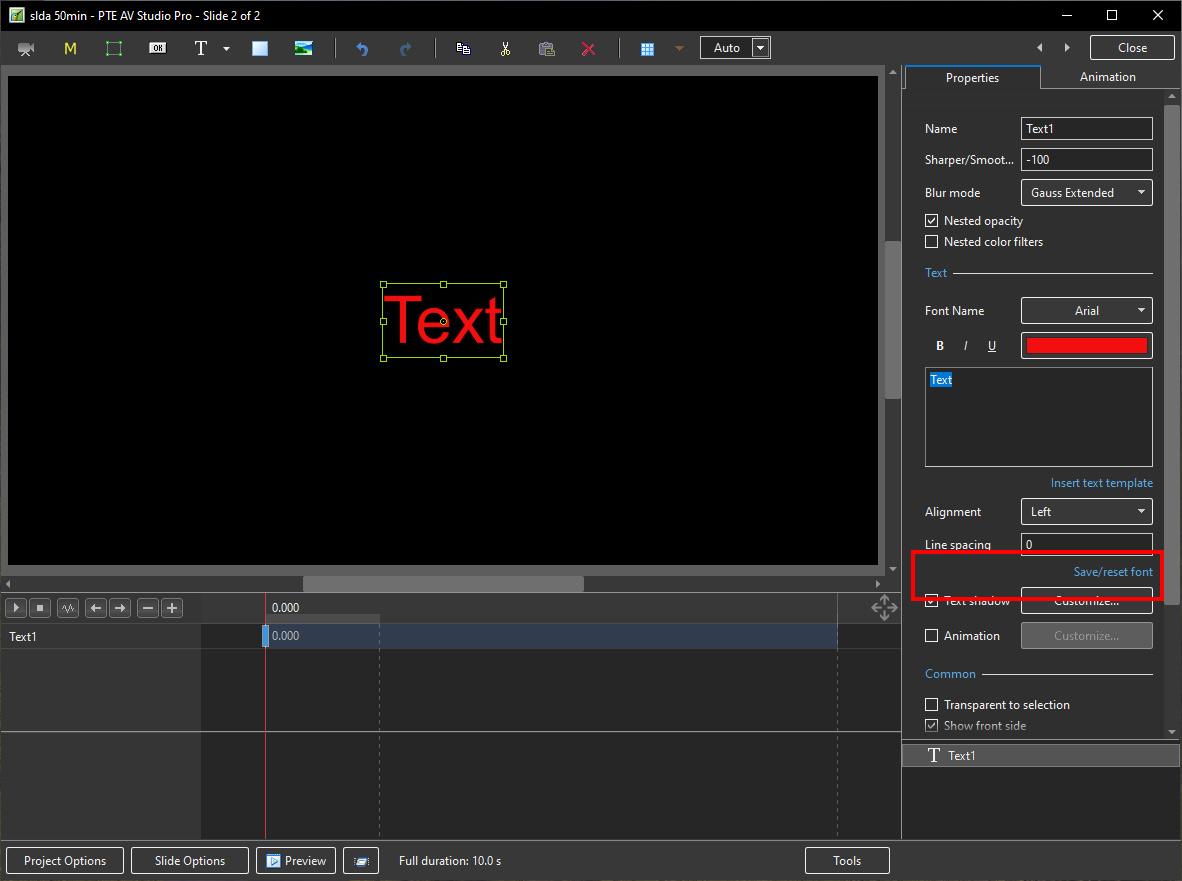
Look at the ANIMATION feature in O&A / Text. https://docs.pteavstudio.com/en-us/11.0/how_to_v11/add_text?s[]=text animation#text_animations DG
-
Try this: You could also copy/paste a Text box and change the Text content. DG

-
Which version?? Click on the A/B button and choose a suitable transition? DG
-
You will not find them under the given name - it will look like this: You can do everything that you want to do in the TOOLS section of Styles and Themes. Why are you looking for them? DG
-
Do you mean this? You can put them wherever you wish. Change the default to your own preference.
-
JMC, this an ENGLISH speaking community and I translated your question for the benefit of those who do not speak French. I used the online translation which is what we respectfully request that you do. JMC, c'est une communauté anglophone et j'ai traduit votre question pour le bénéfice de ceux qui ne parlent pas français. J'ai utilisé la traduction en ligne, ce que nous vous demandons respectueusement de faire. DG
-
Hello, I don't know if I'm in the right activity for this question, but here it is: I would like to normalize the sound of an edit. Should I first do it on each piece independently, or export the audio track to a file and do it with that file...?Thank you for your response. Best regards to the entire PTE Forums team. Have a good day.
-
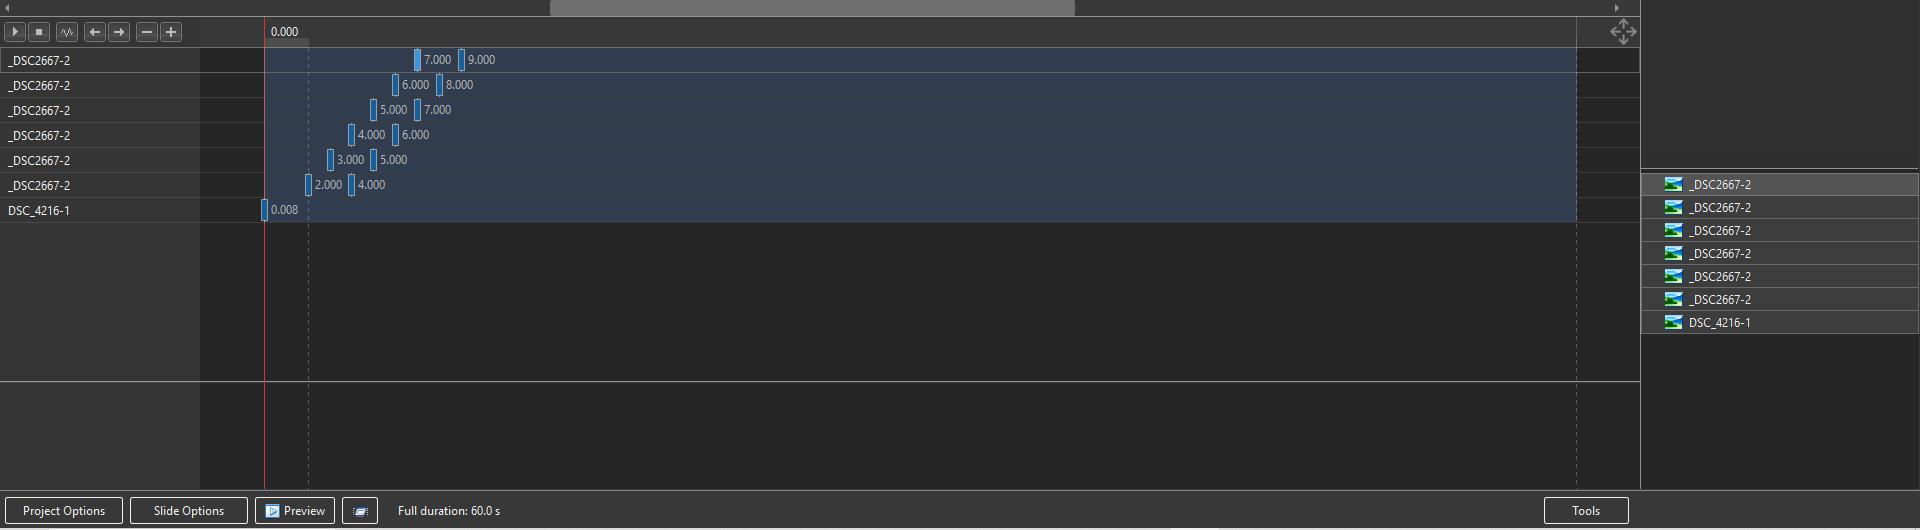
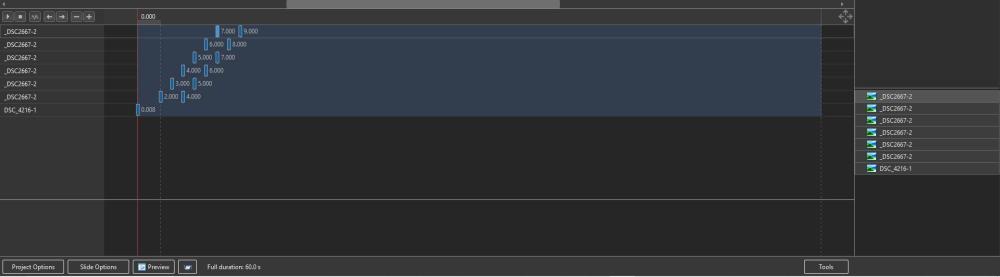
If I understand your requirement correctly, you need to "stagger" your KF along their Timelines. Move the zero KF of the second small photo along its timeline by (for instance) one second and then move its final KF by the same amount. Then move the zero KF of the third small photo along its timeline by two seconds etc Something like this: DG
-
Here's a different approach to Strips which does not use Masks. Please excuse the Background Add two 16:9 images to a 16:9 project and apply the Horizontal or Vertical version. Strips.ptestyle DG
-
Add a Blank 16:9 Slide to a Project and Apply this Style. Analyse the Strips 1-4 in O&A. Strips Tute.ptestyle DG