Leaderboard


Popular Content
Showing content with the highest reputation since 07/24/2026 in all areas
-
Hi everybody, The idea of the Slideshow was the illustration one of the new PTE V.12 feature-Blending Modes. This is basically variations of the one Style--Screen Blending Mode. The set of pictures placed in the Stencil Container and the Background Composition-in the Mask Content. There's some whistles and bells here and there also to make it looks more cinematic. To my mind, of course. If you like it--there's The Link. Just replace the files marked "Replace Me" with yours Media. Best Alex558 points
-
Hello everyone! My vacation season is almost here, and I've already dipped my toes in the water... Good vacation !!! https://javier-pteavstudio.blogspot.com/4 points
-
Hi everybody, I 've built my first Project using PTE AV Studio V. 12.1 recently. Here's a short summary. Overall the App fills much more responsive. The export movie render time is decreases significantly. Finally we got rid of that pesky problem locating same file in different locations. .That's great! Blend Mode works wonderfully to me, opening much more possibilities . The creating backup project takes less time. The only one problem I've found so far was randomly unresponsive timeline head while Stop and Go playing the timeline. While manual scrubbing the timeline goes smoothly. I still run Quad core on Win7, so that's might be the reason. I'd appreciate if someone try to feedback me. I think the Team made a great job on keeping move this great App ahead of competitors. Thank you! Alex553 points
-
Hola chanfi22 Gracias por avisarme. Hice la copia de seguridad como siempre. Usé esos cuatro archivos de una plantilla que ya estaba instalada en PTE. Hice otra copia, pero el problema persiste. Lo comentaré con Igor. Los agregué manualmente. Si pudieras verificar que no haya otros problemas, te lo agradecería.2 points
-
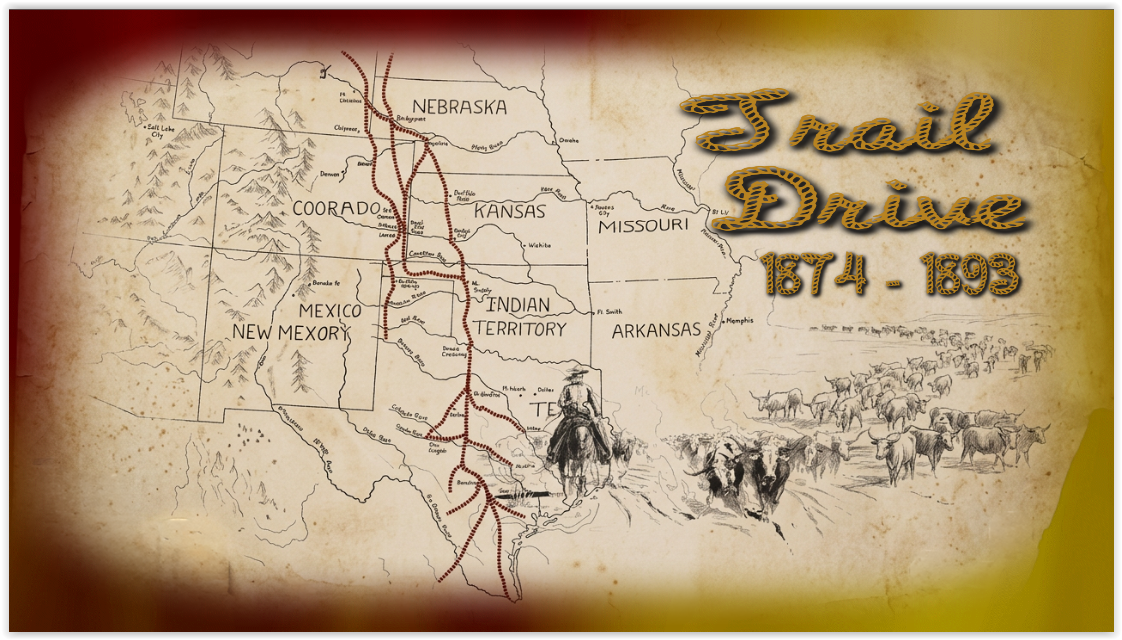
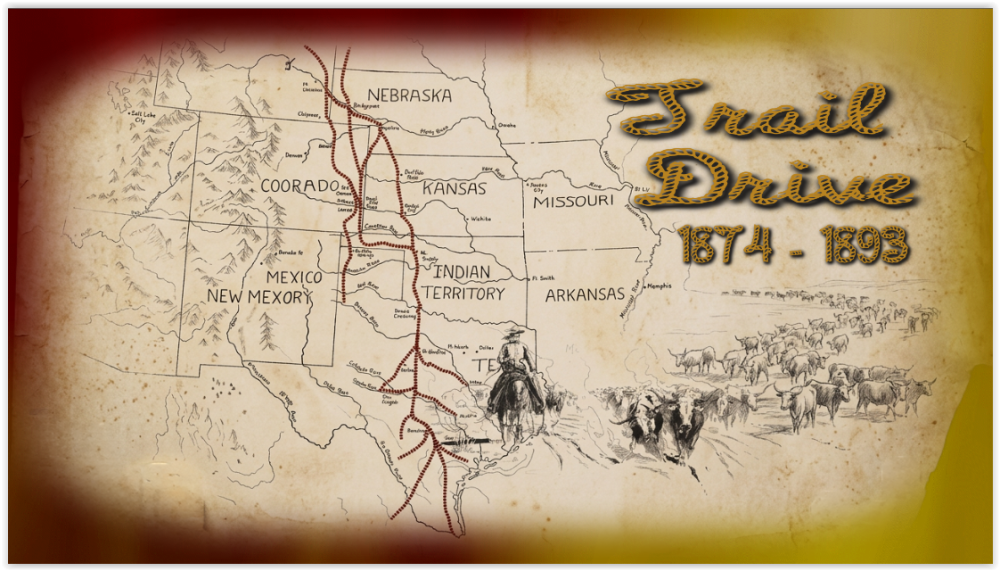
Trail Drive From 1874 - 1893, Hope you enjoy the show. Here is the web link to my web site: Trail Drive From 1874 - 1893 Show. Trail Drive From 1874 - 1893 Show Link: https://www.pnwhiker.org/TrailDrive/TrailDriveShow.htm
 2 points
 -
Some photographers will walk a kilometre to a carefully planned location 4.5 kilometres from the Byron Lighthouse, then wait 45 minutes for the Moon to rise perfectly behind it—because apparently disappointment needs good composition too. Right on cue, the clouds staged a flawless photobomb, hiding the Moon at the exact moment of truth. Then, just as surrender seemed the only sensible exposure setting, the Moon popped above the clouds and lit them up brilliantly, proving Mother Nature enjoys delivering punchlines more than photographers enjoy sticking to the plan. Made into a timelapse style with PTE.1 point
-
Hi, I'm glad you resolved this technical issue. PTE AV Studio uses the default audio device (configured in Windows settings). In other words, it's the same audio device used by your browser (YouTube) or VLC video player. Usually, restarting the program (PTE AV Studio) is sufficient if you've changed the audio output device. In rare cases, restarting your computer (Windows) may be necessary.1 point
-
Hi Javier as Mark explained, I updated the the location in Object and animations and all is OK when opening the project the next time. The reference PTE expects is: %store%\Slide Styles\{2D6CA3B3-323E-44B9-A88F-B177039985A2}1 point
-
Hi jienense I can confirm the missing images are in the new downloaded file. Just ran the project and got the error message to say there are missing. I browsed to the folder they were located in and got the ticks to show they were found on a Windows PC. Thanks Mark PS The 4 missing files although they are located, the reference to the location in Slide 7 also needs to be updated in the Objects and Animations Tab Once I saved the project it updated when opened the next time. Thanks again for sharing this detailed project.1 point
-
Glad you have solved it. Problems like that are always tricky. Jill1 point
-
un Grand Merci jienense superbe montage ! félicitations ! bonne Vacances !! Henry --- "A huge thank you, jienense, superb editing! Congratulations! Have a great vacation!! Henry" (Google Translate)1 point
-
Hello Javier, Excellent work. It’s original and very well done. Bravo, and a big thank you for sharing the project. However, it’s a shame that 4 files are missing: 1) ramkao2-2.png 2) snow_mount-8.png 3) snow_mount-3.png 4) tree-2.png1 point
-
A series of 90 images made into a short timelapse AV using PTE AV Studio. Mark1 point
-
Nicely done time lapse Mark1 point
-
1) In Object and Animation, when you move a Keypoint, it snaps to the end and the beginning of the slide, and to the other 2 points that represent the Transition/In and Out points , -- and that's PERFECT. BUT when dragging the cursor along the existing Keyframes, it would be very useful and nice, IF the cursor would snap to the Keyframes and In/Out points too. At the moment it just flashes when upon the keyframe, but no snap/ lock to that point/keyframe. 2) Also in the same Object and Animation window, on the right side: please set the height of Properties and Animation tabs around 75% of the screen height AS DEFAULT, and the bottom section, where the created elements are listed, would then take the rest of 25%. For the moment, I always need to adjust the height of those sections too see all the settings and thats very frustrating. 3) Can you please make more variations of "Spots" transtion? Or creating various settings for changing/ varying the existing one ? Like blur margins, liquify margins, vary the pattern of holes, etc We need some more transitions, specially organic/random-shaped ones. Best regards, L.B.1 point
-
Love it - very well done. Great use of the new features. Thanks for sharing.1 point
-
"Spots" can be made into a separate customizable effect applied to any layer. This effect will allow you to create animated waves on the surface of water, clouds, rain, light reflections, and more. And also the "Page Curl" effect for the layer. I am confident that this effect will be very popular among slideshow creators. Sincerely, BD.1 point
-
Have you tried the keyframe navigation arrows? https://docs.pteavstudio.com/en-us/12.0/objectsandanimation_1/managing_key_frames#navigate_key_frames DG1 point
-
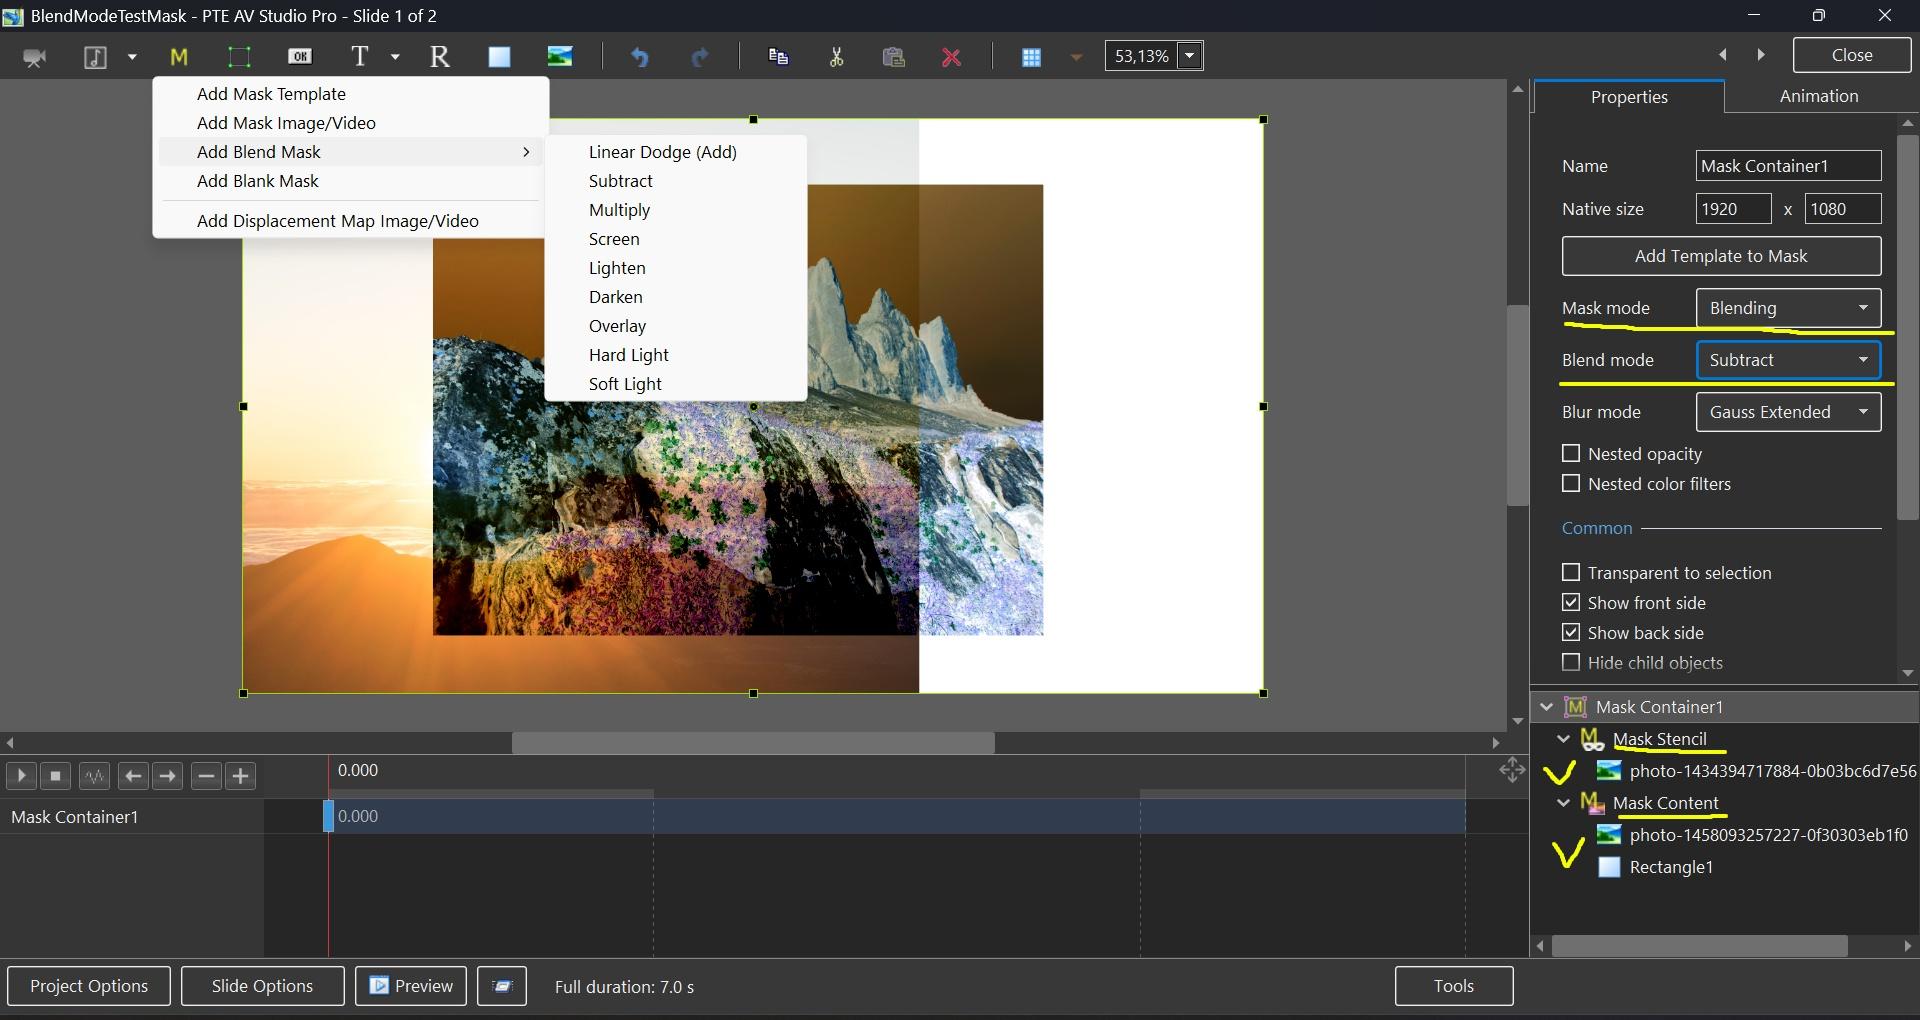
Hi, In PTE AV Studio 12 we've added a new "Blending" mode to the Mask container with support for 9 blend operations: Linear Dodge (Add), Subtract, Multiply, Screen, Lighten, Darken, Overlay, Hard Light, and Soft Light. To use: place the first image into the Stencil, and the second image into the Content of the Mask container. You can add video, text object, rectangle object, or multiple objects (several images, for example). Watch a video example. Click the play button: BlendMode.mp4 BlendMode.zip
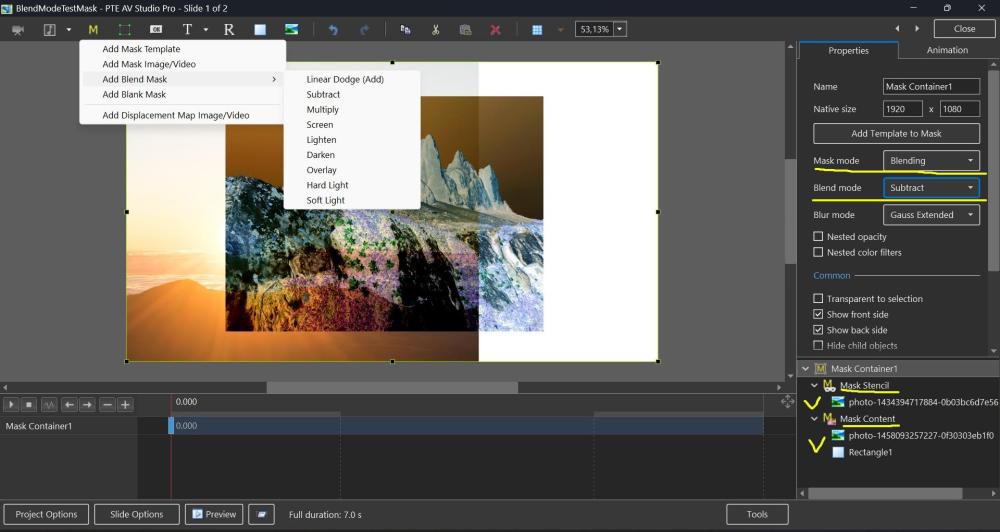 1 point
 -
Testing...1 point