davegee
-
Posts
9,323 -
Joined
-
Days Won
59
Everything posted by davegee
-
Is this the first time that you have opened PTE since installing Ventura 13.4.1? There seems to be other issues involving Ventura 13.4.1. DG
-
This is for PC. BTW what happens if you click on File/New? If that opens OK then perhaps it is the Project?
-
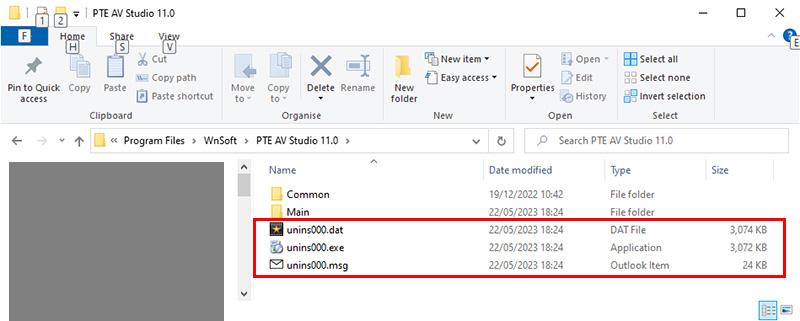
Perhaps an Uninstall (using the PTE uninstaller) and re-installing. If you were a PC user that is what I would suggest. DG
-
 Please translate to English before posting. DG
 -
https://docs.pteavstudio.com/en-us/10.0/main DG
-
The new Text Animation in Version 11 will allow you to simulate a typewriter style. Use the "Quick" option. https://docs.pteavstudio.com/en-us/11.0/how_to_v11/add_text#text_animations Add your own Typewriter Font and sound clip from the Internet. Typewriter_Jun1-2023_10-17-10.zip DG
-
Search the forum: https://www.pteavstudio.com/forums/search/?q=Typewriter&quick=1 DG
-
Please post an English Translation - use Google Translate. DG
-
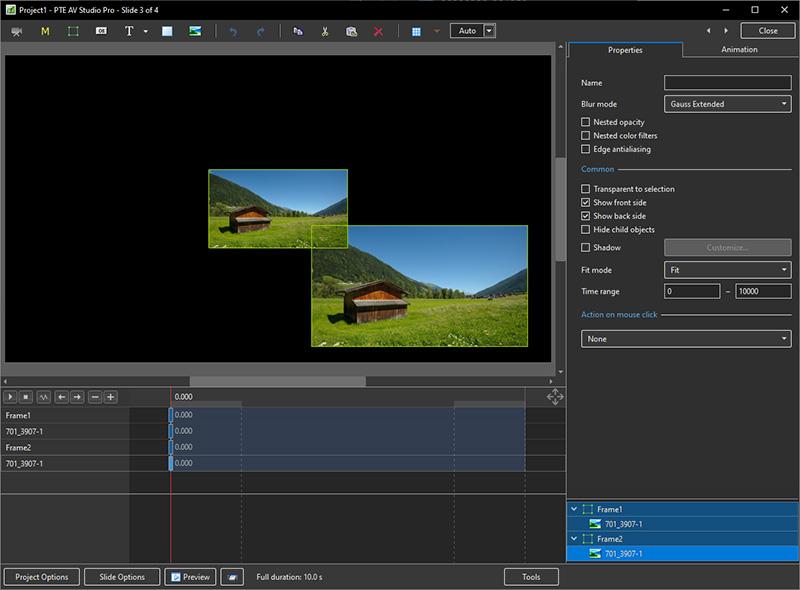
If you made each of the original objects the "child" of a parent frame, the Frames would be labelled Frame 1, Frame 2 etc. You would then apply any animation to the Parent Frame rather than the Object. You can name the Frames appropriately. Does that help? DG DG
-
You can achieve a Duplicate by APPLYING a Style (e.g. Creative / Gallery Right for 3 Images) and then making a New Style of the Applied Style in a different Category. Using a Different Name would be advisable - use suffix 2 or similar. DG
-
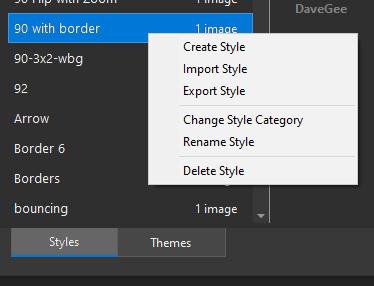
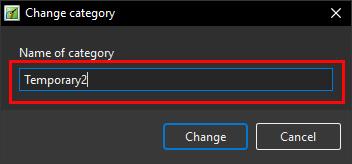
I am assuming that you are using the Pro Version. When you right click on a Style in the Styles and Themes Window you should see this: Firstly, this will allow you to Export the Style to your "Exported Styles Folder". You can then Change the Style Category and will see this. Type the Name of the New Category that you want to create in the "Name of Category" box and click OK. This will create the New Category and transfer the Style to the new category. You cannot have the same Style in two Categories. If you want to pursue your idea could you please use the "Suggestions for Next Version"? DG
-
If it helps, you can change the Slide Name in either O&A/Properties or Slide Options. If you add a Blank Slide to the Slide List and add images in O&A you would need to use one of the above options to name your slide or leave it at Blank. Leaving it Blank and having multiple Blank slides is not a good option if you are using hyperlinks and "Go to slide with name..." DG
-
You could create a Category which contains only Styles that require two images. You could also create Categories which contain only Styles which require one, two or more upright images etc. Using the renaming feature you could have the same Style in more than one category. There are many possibilities. DG
-
New Remove Tool, Adjustment Presets, Contextual Task Bar and updated Gradients.
-
- 2
-

-
Another take:
-
Coming to Photoshop this year - available now in Photoshop Beta:
-
Styles and Quick Styles - Some Notes Main Object Indexes If the Slide from which the Style is being created contains more than one Object/Image then each object has to be designated "Main Object and Indexed 1 to x". If an Object is NOT designated a "Main Object" it will be included in the Style and its file size will be increased. In the example below (Backup in ZIP) the first slide has two Objects designated Main Object 1 and Main Object 2. The Grey Background is not a Main Object. The animation in Slide 1 can be copied by clicking on Slide 1 and going to the Slide Menu and choosing "Create Quick Style" (or use the Short Cut "Ctrl+Shift+N"). Slide 2 has two objects which are designated Main Object 1 and main Object 2. You can now click on Slide 2 and go to the Slide Menu and choose "Apply Quick Style" (or use the shortcut "Ctrl+Shift+Q"). The animation in Slide 1 (and the white stroke line) is copied to Slide 2 and the Grey Background image is also applied. The Slide Duration of Slide 2 is not changed and the Key Frames times are adjusted accordingly. The Number of Image/Objects Theoretically there is no limit on the number of Main Images which can be included in a Style or a Quick Style. I have tested up to ten image/objects and it works well. Project Quick Style4.zip DG
-
- 3
-
-
Use "Wetrnasfer" or similar free account: https://wetransfer.com/pricing?campaign=PM_58700008186163808&term=Wesendit&medium=UK_P-G_Aw&source=Google&gclid=CjwKCAjw36GjBhAkEiwAKwIWyc9RTSG0Cb_l-mb0Ja_qJ7ecuI22uKuS5MEPA13uQC16I428uh-FCRoCEkUQAvD_BwE&gclsrc=aw.ds Alternatively, use Microsoft One Drive. Post link here or send link to Igor via a PM explaining your problem. DG
-
des transitions dans PTE AV Studio 11 ne fonctionnent plus [SOLVED]
davegee replied to nicky68's topic in Troubleshooting
This is an English language Forum. Please use Google Translate. DG -
Large pixel images CAN cause problems in an EXE depending on the hardware used to SHOW the EXE wheras an mp4 from the same project will not display the same symptoms. In such cases, large pixel size images are the usual suspect. You will need to make the EXE available to Igor for him to provide a definitive answer. DG
-
Dan, There are various screen grab softwares available. I use the screen grab feature available in GeForce Experience (free) which compliments my nVidia Graphics card and gives excellent results. The resulting mp4 can be played standalone or re-introduced into PTE for further refinement. DG
-
More information needed. Your system, graphics card, memory etc? What size in pixels is the image which falters. Can you cut it down to screen resolution and try that? DG
-
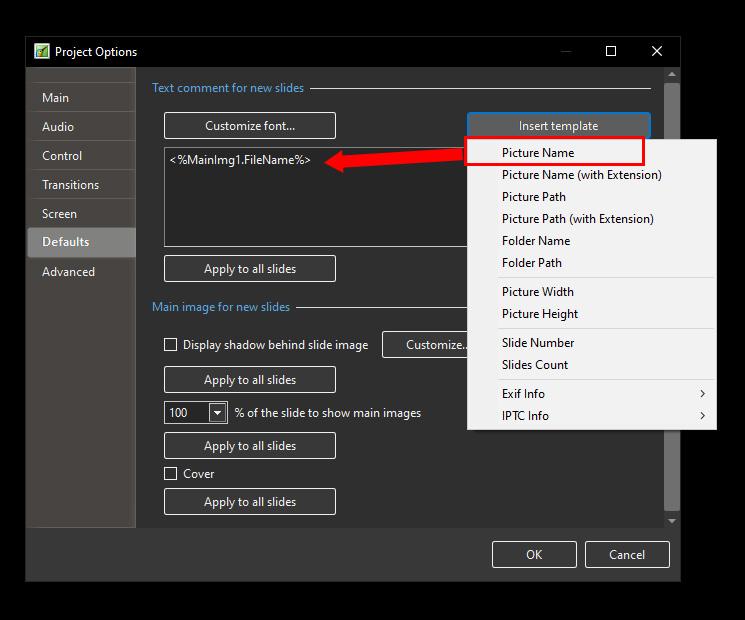
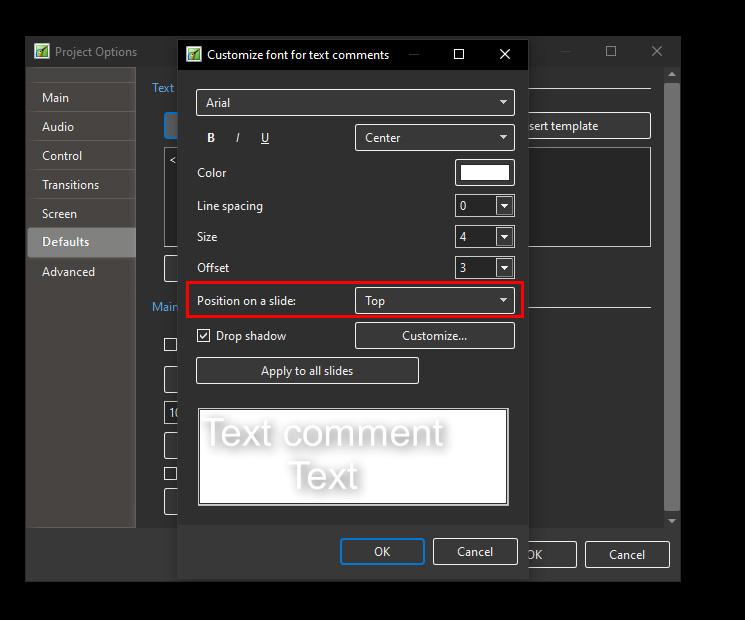
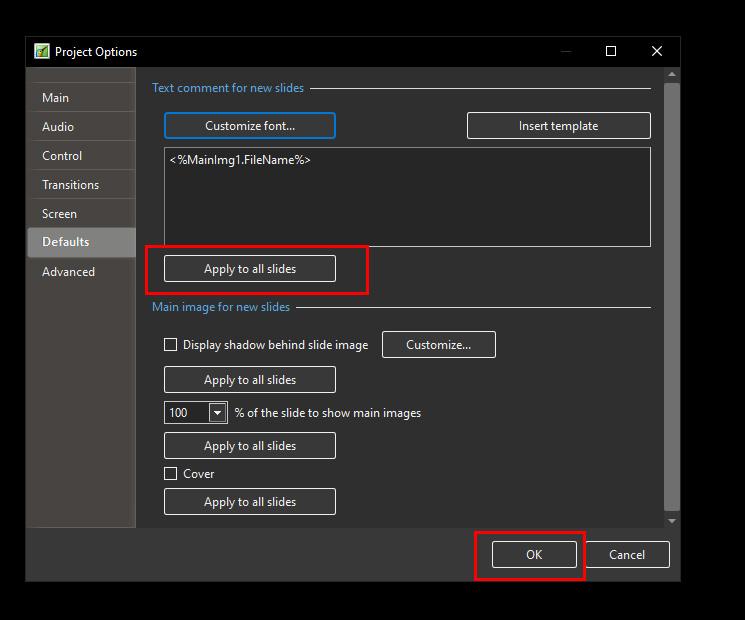
Only available in Pro version. Compare Editions: https://www.wnsoft.com/en/pte-av-studio/compare/ This Style will do something close to what you wanted: Text Template BLC.ptestyle DG P.S. You will find the Imported Style in DaveGee Styles
-
Text Template - file title across each slide
davegee replied to Tony Harding's topic in General Discussion
-
A simple Style for two upright images with a Text Template. 2 Upright with text.ptestyle DG