davegee
-
Posts
9,348 -
Joined
-
Days Won
59
Everything posted by davegee
-
I think that if you follow the normal steps for loading a new font into Windows, it will appear in PTE. PTE does not have any Built-In Fonts. Are you saying that the font that you want to use is available on your PC but does not show in PTE? If so, what is it called? DG
-
The PC on which your EXE was shown probably did not have the same font that you used on your Mac so a substitute font has to be used. Your best way forward is to use the MP4 option. I think that MP4 is widely used in competitions now and there is no difference in quality if you use High Quality and 60p. DG
-
A reminder that in the Settings Menu we have the "File List Sort Order" command. By choosing "Exif Date" we can order the file list images in the Date Taken order. The "Reverse Order" command gives a little more flexibility. This can be useful if your File List contains images taken on multiple cameras at an event such as a wedding. If you are in the habit of re-naming your images when importing to a PC then you probably would not need to use "File List Sort Order"/"Exif Date". I have never re-named my images and I am putting together a show made up from images taken on digital cameras dating from around 2000 to present and find it useful. DG
-
- 1
-

-

V9 Foutmelding Access violation at address 007598F8 [SOLVED]
davegee replied to bugari's topic in Troubleshooting
Try loading the latest v9 from here: https://www.wnsoft.com/en/pte-av-studio/old-versions/ DG -
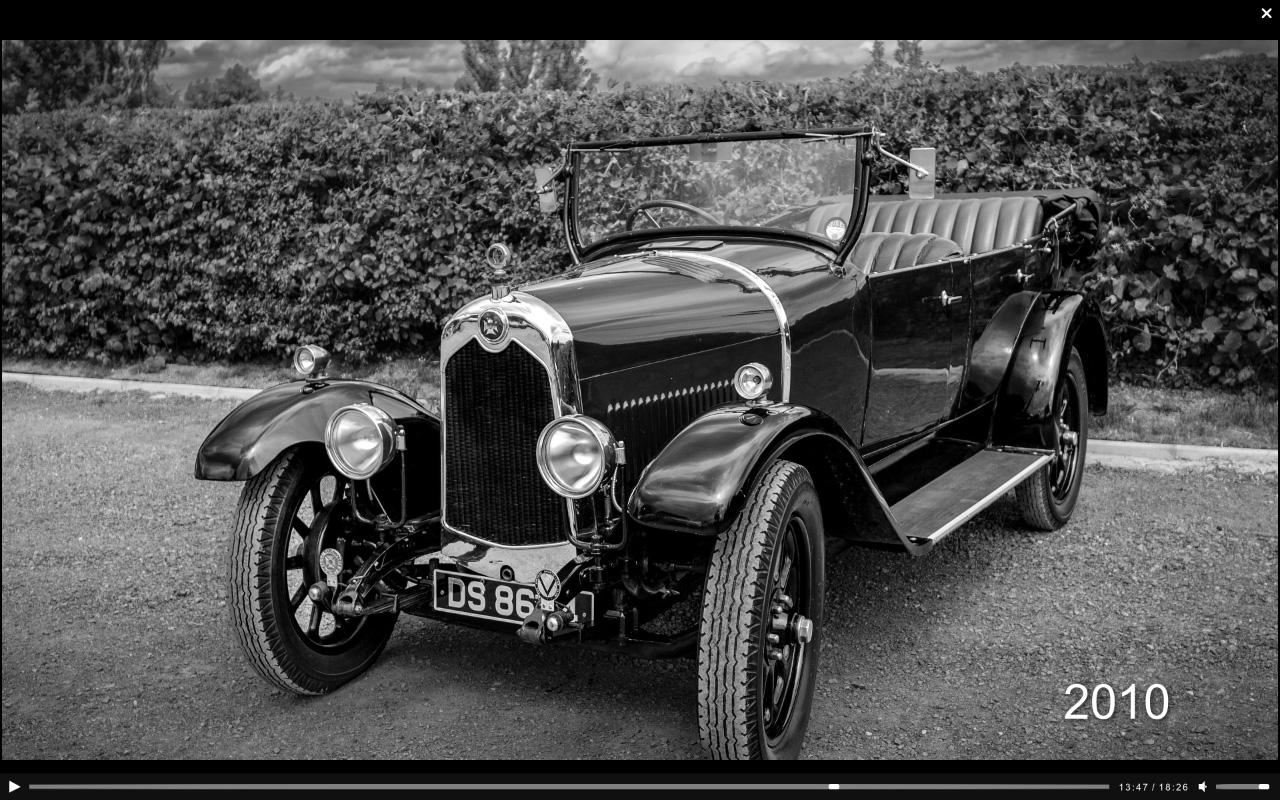
This Style will give you the YEAR that you wanted. There are probably other ways of doing it - this is the first way that came to mind. Text Template - Year.ptestyle DG

-
Add your Text as a "Text Template" - https://docs.pteavstudio.com/en-us/11.0/how_to_v11/add_text#insert_text_template Position and Size it by dragging to the bottom right in Objects and Animation. Size by using the Zoom control in Animation Tab or use grab handles. Save as a Style and Apply it to Single or Multiple Images/Slides. Try this Style - drag an image into the Slide List (it will assume Main Object/Index 1 - see O&A Properties Tab) and Import and Apply this Style. Text Template - Date.ptestyle Import a Style: https://docs.pteavstudio.com/en-us/11.0/slide-styles/import Apply a Style: https://docs.pteavstudio.com/en-us/11.0/slide-styles/apply DG
-
Can you point to an example video of the effect that you are trying to produce? It would help. DG
-
Try LCE for a comparison. I have found them to be very fair and open to bargaining. DG
-
Point well made! I got my first dslr around 2000 and have shot RAW ever since. Like you, I have them all on a large disc with a backup. Every new advance in Photoshop, or to be more precise, Adobe Camera RAW, makes looking at these RAW images a new experience. I am currently going through my old images in chronological order looking for suitable candidates for dramatic Black and White conversions. ACR gives me all the tools I need to achieve this. DG
-
https://docs.pteavstudio.com/en-us/11.0/main_menu_1/publish?s[]=dvd#dvd-video_disc_-_video_builder DG
-
The link does not work? DG
-
Igor, Will it be possible to add a Sound Object directly into a Custom Transition in a future version? DG
- 1 reply
-
- 4
-
-

-
-
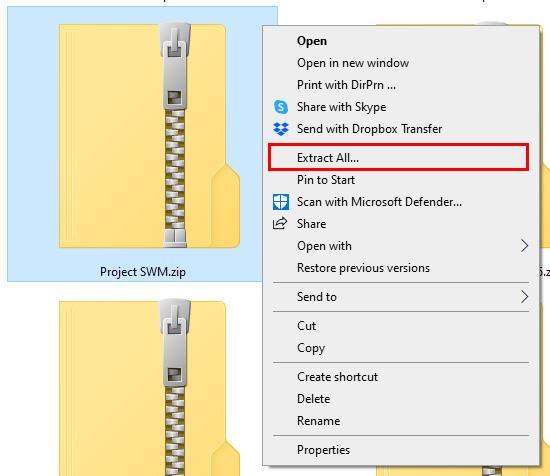
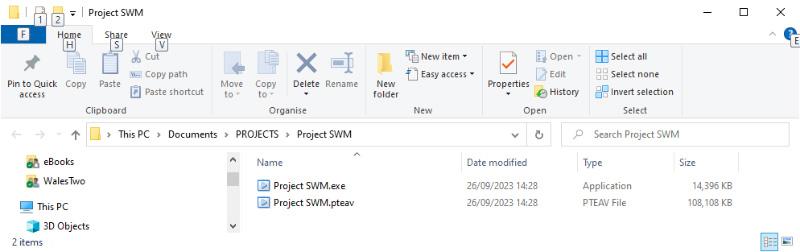
Franz, You MUST provide a translation using Google Translate. This is an English Language Forum. "Since you can't send an exe file over the internet, I wanted to create a ZIP file with 'a safe executable for PC' However, the ZIP cannot be extracted. An error code is generated. What to do now ? Does anyone have a solution for this problem?" Could it be something to do with RAR? Have you tried to use the Windows Extract Tool? DG
-
Experimental Style with Quick Transition and Shutter Click
davegee replied to davegee's topic in Styles & Templates
Well, if anyone could do it Igor could. There are some features of Styles and Custom Transitions that are available in the built-in ones that we ,as users, cannot duplicate. Who knows....... DG -
Experimental Style with Quick Transition and Shutter Click
davegee replied to davegee's topic in Styles & Templates
Sorry Eric, At this time I do not think that you can include an Audio File or a Video (with Audio) in a Transition. DG -
Experimental Style with Quick Transition and Shutter Click
davegee replied to davegee's topic in Styles & Templates
This is as loud as I can make it from within PTE. Shutter Click Louder.ptestyle DG -
Shutter Click.ptestyle Try it with multiple slides (e.g. 12) and set duration for each slide to 0.5sec. DG
-
You could add your Text Comment/Template to a slide which has no other animation and make a "Quick Style" (Shift+Ctrl+N) and Apply the Quick Style to Selected Slides (Shift+Ctrl+Q). You would have problems if any of the Selected Slides already had Animation. DG
-
Maybe I am missing something? In the scenario that you describe there is no need of an "Action On Exit" - this will occur automatically. Example: Two EXE files each of 5 slides (Show A and Show B). Both shows made in the same version of PTE. On Slide 3 of Show A I have a Button which has the action: Run Slideshow (Show B ) and Return. When the Button is clicked on during the running of Show A, Show B starts and plays to the end at which point it returns to Slide 3 of Show A without the need of an "Action On Exit" for Show B. If you point to a Show made in a different version you should get an error message. If you use "Run Application or Open File" and point to an EXE which is not made in the same version the "Return" to the original Slide in Show A is again made without the need for an "Action On Exit" for Show B. DG
-
https://docs.pteavstudio.com/en-us/11.0/project_settings_1/project#text_comments_for_new_slides DG
-
If you are using the "Comment" feature in the Slide View you can go to the Objects and Animation/Properties view to change its properties. Is this what you mean? DG P.S. https://docs.pteavstudio.com/en-us/11.0/main-window_1/slide_list_view#comment_text_comment
-
Transitions have suddenly stopped working [SOLVED]
davegee replied to Jane's topic in Troubleshooting
Retrieve a lost License Key: https://www.wnsoft.com/en/pte-av-studio/lost-license-key/ DG -
You can Export the whole sound track as a single WAV or MP3 using the Timeline Options. https://docs.pteavstudio.com/en-us/11.0/main-window_1/timeline_view#timeline_options You could equalise the resulting file in Audacity and replace the existing sound track with the output from Audacity. DG
-
Transitions have suddenly stopped working [SOLVED]
davegee replied to Jane's topic in Troubleshooting
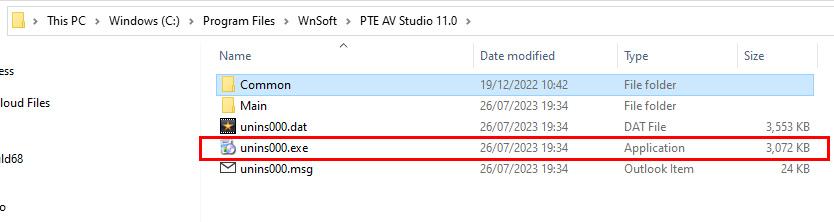
Jane, The usual advice is to do an Uninstall using the PTE Uninstaller and re-install the latest version. Have your registration details ready. In order to eliminate a corrupted Project try starting a new Project and see if the Transitions work OK in that. DG